

Galvanized eye bolts are essential hardware components used in a wide range of applications, from construction and rigging to industrial and home projects. As a trusted supplier of high - quality eye bolts, I am well - versed in their features, benefits, and proper installation methods. In this blog post, I will guide you through the process of installing a galvanized eye bolt, ensuring a safe and successful installation.
Understanding Galvanized Eye Bolts
Before we dive into the installation process, it's important to understand what galvanized eye bolts are. Galvanized eye bolts are made of steel that has been coated with a layer of zinc through a process called galvanization. This zinc coating provides excellent corrosion resistance, making the eye bolts suitable for both indoor and outdoor use. The "eye" at the end of the bolt is a loop that can be used to attach ropes, cables, or chains, allowing for easy lifting, pulling, or hanging of objects.
Tools and Materials Required
To install a galvanized eye bolt, you will need the following tools and materials:
- Galvanized eye bolt: Choose the appropriate size and strength of the eye bolt based on your application. Consider factors such as the weight of the load, the type of connection, and the environmental conditions. We offer a wide range of galvanized eye bolts in different sizes and grades, including Bolt Grade 8.8 and Bolt Grade 4.8, to meet your specific needs.
- Drill: A power drill with the appropriate drill bit size for the eye bolt. The drill bit should be slightly larger than the diameter of the eye bolt shaft to ensure a proper fit.
- Wrench: A wrench or socket set to tighten the eye bolt securely.
- Safety equipment: Wear safety glasses, gloves, and a dust mask to protect yourself from debris and dust during the drilling process.
Step - by - Step Installation Guide
Step 1: Choose the Installation Location
The first step in installing a galvanized eye bolt is to choose the right location. The location should be strong enough to support the weight of the load and should be free from any obstructions. If you are installing the eye bolt in a wall or ceiling, make sure it is attached to a structural member such as a stud or joist. You can use a stud finder to locate the studs in the wall.
Step 2: Mark the Drilling Point
Once you have chosen the installation location, use a pencil or marker to mark the center of the drilling point. Make sure the mark is clear and visible.
Step 3: Drill the Hole
Insert the appropriate drill bit into the drill. Align the drill bit with the marked drilling point and start drilling. Apply steady pressure and keep the drill perpendicular to the surface. Drill the hole to the appropriate depth, which is usually slightly deeper than the length of the eye bolt shaft. If you are drilling into concrete or masonry, you may need to use a hammer drill for better results.
Step 4: Clean the Hole
After drilling the hole, use a brush or compressed air to clean out any debris or dust from the hole. This will ensure a good fit for the eye bolt.

Step 5: Insert the Eye Bolt
Insert the eye bolt into the drilled hole. Make sure the eye of the bolt is facing the desired direction. If the eye bolt has a threaded shaft, start turning it clockwise by hand until it is snug in the hole.
Step 6: Tighten the Eye Bolt
Use a wrench or socket set to tighten the eye bolt further. Make sure the eye bolt is tightened securely, but do not over - tighten it as this may damage the bolt or the surrounding material. The tightness of the eye bolt should be sufficient to hold the load safely.
Step 7: Test the Installation
Once the eye bolt is installed, give it a gentle tug to test its stability. If the eye bolt moves or feels loose, it may not be installed correctly. In this case, you may need to remove the eye bolt, clean the hole again, and reinstall it.
Additional Tips and Considerations
- Load Capacity: Always check the load capacity of the eye bolt before using it. The load capacity is usually indicated on the packaging or product specification sheet. Do not exceed the recommended load capacity to avoid accidents.
- Thread Engagement: Make sure the eye bolt has sufficient thread engagement in the hole. A general rule of thumb is that the length of the threaded portion of the eye bolt should be at least 1.5 times the diameter of the bolt.
- Environmental Conditions: Consider the environmental conditions where the eye bolt will be used. If the eye bolt will be exposed to harsh chemicals, saltwater, or extreme temperatures, choose a high - quality galvanized eye bolt that can withstand these conditions.
Conclusion
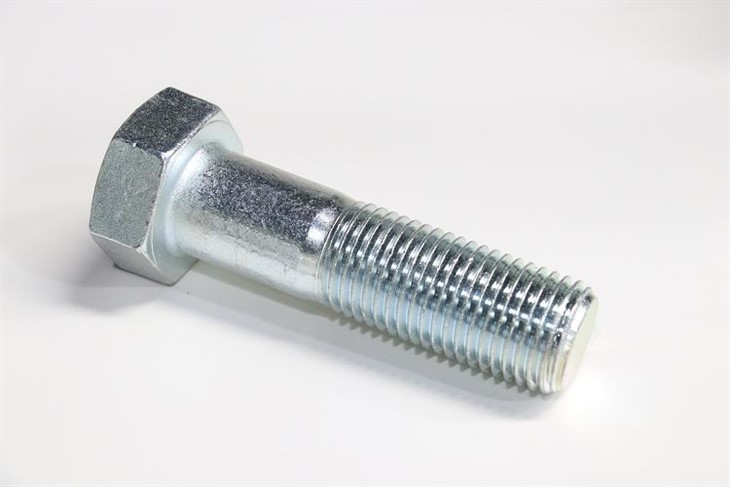
Installing a galvanized eye bolt is a relatively simple process if you follow the right steps and use the proper tools. As a leading supplier of galvanized eye bolts, we are committed to providing you with high - quality products and expert advice. Whether you need Bolt Grade 8.8 for heavy - duty applications or Bolt Grade 4.8 for lighter loads, we have the right solution for you. We also offer a variety of other bolts such as Hex Bolt Din 931 to meet your diverse needs.
If you have any questions about our products or need assistance with your installation, please feel free to contact us. We are here to help you with all your eye bolt and hardware requirements. Our team of experts can provide you with detailed product information, technical support, and competitive pricing. Let's start a conversation and find the best solution for your project.
References
- American Society of Mechanical Engineers (ASME) standards for bolts and fasteners.
- National Fire Protection Association (NFPA) guidelines for rigging and lifting equipment.